How Do You Finish a Basement Gym?
There are plenty of ways to renovate your basement. You can, for example, turn your dingy basement into a home gym. Now, there is no need to head to the nearest gym or fitness centre to reach your fitness goals.
The approach to finishing a basement workout room is a little different from other options, such as an apartment, office, or theatre room. After all, a home gym has unique needs. In this article, we’ll give you an idea of the steps involved in building a basement gym.
A GUIDE ON FINISHING YOUR BASEMENT HOME GYM
Turning your basement into a home gym is one of the best ways to put that available space to good use. First of all, it enables you to work out anytime you want and in the comfort and privacy of your home. With this, attaining your fitness goals and having a healthier lifestyle has never been easier. Plus, it may inspire the rest of the family to be more physically active as well. Finally, this project can increase the overall value of your home, making it extra useful if you plan to sell your property sometime in the future.
Finishing a basement home gym involves plenty of steps – from planning to placing the gym equipment to adding the finishing touches. We’ll run through each step to give you an idea of what to expect.
Related article: Do You Need to Finish Your Basement and Is It Worth It?
1. MEASURING
The first step is to measure the available space. You won’t be able to plan effectively if you don’t know how much space you can work with. Depending on how much space you have and the kind of equipment you want to use, you can decide to turn the whole basement into a gym or to allot some space for storage. Either way is fine. What’s important is that you have ample space for whatever it is you want to do.
2. PLANNING
Like any other home improvement project, finishing a basement gym requires a ton of planning. This ensures that the remodelling process will go smoothly and that the workers can deal with any setbacks that may come their way.
When finishing a basement home gym, some elements to consider include:
- What gym equipment can fit in the available space
- Where to place the equipment
- How many mirrors are needed
- Where to mount the mirrors
- What lighting and flooring options to choose
- How to deal with ventilation problems
- What to do about the items currently in the basement (if any)
A reliable basement renovation company should provide you with a detailed plan and be transparent about everything. Some may also offer design consultation and prepare 3D models.
By the end of this stage, you should have a clear picture of what the final basement will look like. Basically, before getting down to business, you should know exactly what the workers will do and how they will go about it.
Related article: How to Choose the Best Basement Finishing Company in Toronto?
3. CLEARING UP SPACE
 Depending on the condition of your basement, this might be the first step. After all, if your basement is cluttered, it might be difficult to gauge how much space you can work with. In this case, it is best to clear up the room and get rid of the junk. In the extreme scenario, your basement may need to be demolished so the workers will have a blank slate to work with.
4. ELECTRICAL WORK
Your home gym will require a lot of electrical outlets. Aside from this, a licensed electrician will also run the electrical wire through the walls and ceilings. Make sure that the outlets are strategically placed so you won’t have to rely on extension cords to power your appliances or equipment.
5. LIGHTING
When it comes to the lighting, you want to make sure that the workout room is well-illuminated but not too bright that it is harsh on the eyes. With that said, some of the best options for a home workout room include fluorescent lights, track lights, and recessed lights.
Just make sure that the light fixtures are placed correctly. Don’t position them in spots where you might accidentally hit them when lifting weights.
6. IMPROVING VENTILATION
After dealing with the electrical work, it is time to focus on enhancing the ventilation inside the home gym. This typically involves adding windows (if possible), fans, and ventilation ducts. The goal is to make the basement a safer and more comfortable space for exercising, as well as to avoid a wide range of moisture-, mould-, and pest-related problems.
Some homeowners opt to set up a complete HVAC system – which is short for heating, ventilation, and air conditioning. Meanwhile, others prefer to work out without air conditioning. If you live in a cold region, you may also need heating, especially during winter.
In any case, it all comes down to your needs and preferences. At the end of the day, one thing is certain: keeping your basement well-ventilated is a must.
7. FLOORING
Once the lighting is done, the contractors can finally start building the home gym itself. The flooring is the obvious starting point.
Ideally, the gym floor should be made with rubber or foam – one that is specifically designed for use in fitness centres. That is to say, it should be resistant to impact, easy to clean and maintain, and has the right thickness. This will protect both your flooring and gym equipment. Plus, it will offer a better grip, making it easier for you to execute your workout routine.
8. READYING THE GYM EQUIPMENT
Now that the gym floor is ready, it is time to ready the equipment that you plan to use. Make sure to read the manufacturer’s manual carefully and to follow the instructions to the letter. Also, don’t assemble large gym equipment upstairs – it will be extremely challenging (if not downright impossible) for you to carry the equipment to the basement.
After the assembly, it is just a matter of placing the gym equipment in its appropriate locations.
9. INSTALLING MIRRORS
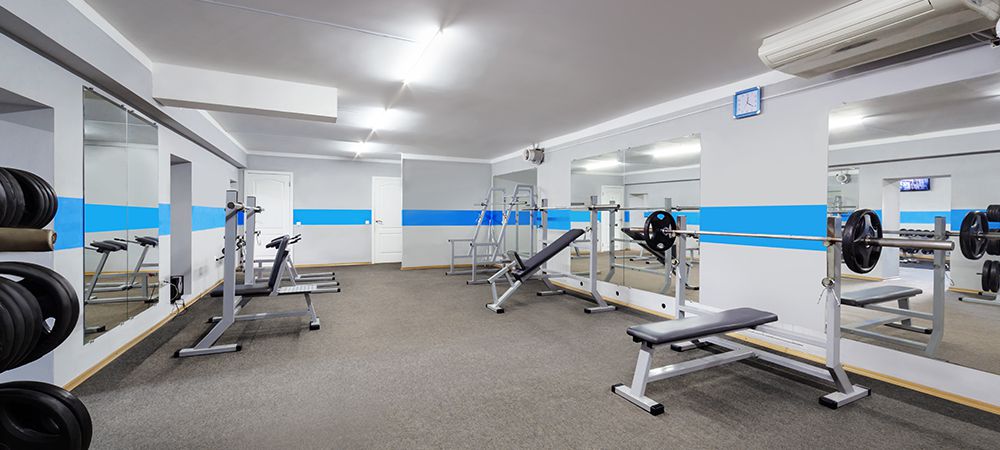
No gym will be complete without mirrors. Essentially, mirrors allow you to regularly check your form and technique, ensuring that you are performing your exercises correctly. You don’t need to mount mirrors in every corner of the room. If you are on a limited budget, just place them in core areas, including behind the power rack and right in front where you perform your stretching exercises and resistance training, among other things.
Once the mirrors are set in place, you can finally get started with your very first workout session in your new home gym.
TRANSFORM YOUR BASEMENT INTO A HOME GYM
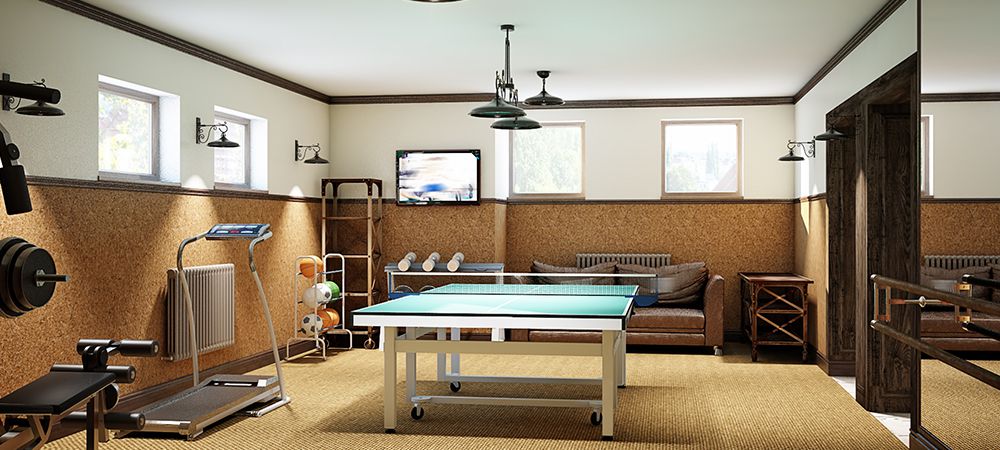
One of the best things about finishing your basement is that it is extremely flexible and highly customizable. That is, there is no one way of renovating your dilapidated basement – and it all comes down to your needs and preferences. If you are a fitness enthusiast, transforming your basement into a workout room is a no-brainer.
Just like any other basement remodelling project, this endeavour involves a lot of planning. It can also take some time, energy, and money. But, rest assured that the final product will be more than worth it. After all, you will save up on gym memberships and gas (if the gym you are a member in is only accessible by car). Most importantly, it will enable you to invest in your and your family’s health and well-being.
Of course, for best results, you would want to choose a reliable basement remodelling company that has the skills and reputation to turn your dreams into reality. Basement Renovations Now is here for all your basement needs. Our basement professionals are highly trained, boast years of relevant experience, and are committed to customer service, ensuring that you are 100% satisfied with the outcome of your home gym.

